
How to Cross the Border from Honduras to El Salvador
This border crossing is usually a simple overland crossing, and the published trip price is US$12. I’m keeping this fresh note up front because border procedures can change, even on a route that feels easy one week and different the next.
The travel route goes from Honduras to El Salvador by road, with a clear border point and a short crossing process. I still remember the little blur of it, taxi horns, dusty pavement, and the smell of fried snacks from a nearby shop while other travelers lined up with passports in hand.
Keep every document close before stepping out of the car. According to U.S. Department of State travel guidance, travelers should keep documents accessible at border crossings, and U.S. Customs and Border Protection notes that passport control and inspection can vary by port of entry.
- Arrive at the border point. Follow the road signs and ask local drivers if you’re unsure.
- Keep your passport ready. Border staff may ask for it more than once.
- Move through exit and entry checks. The order can shift, so stay alert and follow the people ahead.
- Confirm the US$12 cost if asked. That was the published promise tied to this crossing.
- Finish on the El Salvador side. From there, you can continue by bus, taxi, or pickup.
A man at a small roadside counter pointed us the right way, and the whole overland crossing felt more like a quick stop than a big event.
Key Takeaway Points
- The crossing route was the border crossing, then immigration on the other side.
- The trip cost claim was US$12, and that was the stated crossing fee.
- Bring your passport and any required entry or exit papers.
- Exit first, then get stamped back in after border control.
- Wait times can be real, so don’t plan a tight schedule.
- After immigration, you go on to transport, a taxi, or your next stop.
Where to Cross the Border
The main border crossing for Honduras to El Salvador is the official entry point on the highway between the two countries, so the easiest travel route is to arrive on the paved road and follow signs for immigration. I remember a taxi driver pointing us toward the little cluster of booths and saying, “That’s the border point,” while the air smelled like diesel and fried snacks from a nearby stand.
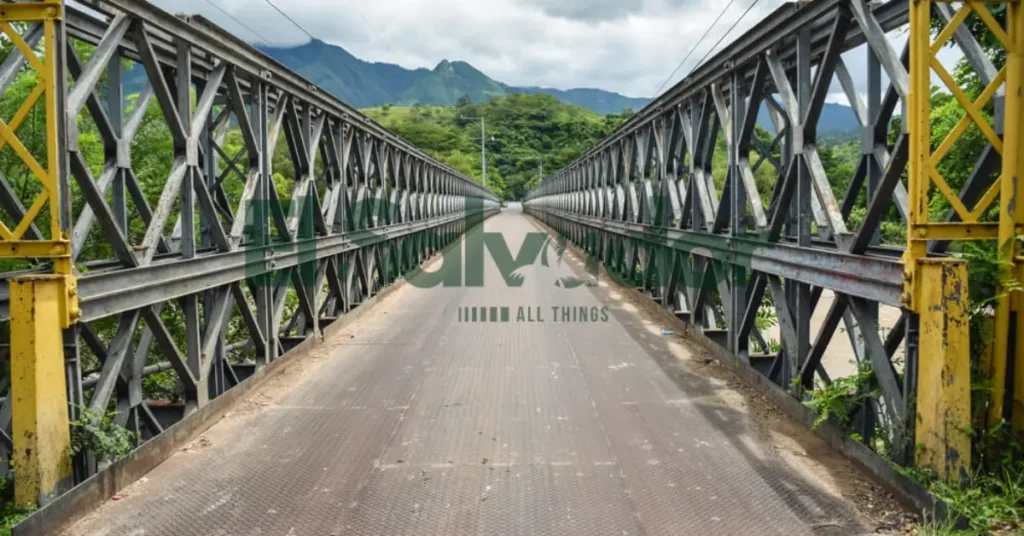
Approach from the Honduras side first if you’re leaving there, then walk through immigration before looking for transport on the El Salvador side. That’s usually the simplest way to cross the border, and it helps to keep an eye out for buses, taxis, or local vans near the official crossing, since those landmarks make the area easier to spot. If you’re carrying documents, keep them ready before you reach the border crossing so the immigration line moves faster.
What You’ll Pay at the Border
The US$12 border fee promise usually breaks down into a few small payments, and that is where the travel budget gets tricky. Keep exact cash ready, because the booth can feel like a blur of stamps, receipts, and tired travelers shifting bags.
- Official exit fee, usually part of the crossing cost. This is the fee most likely to be collected at the first border office.
- Official entry fee, if your nationality or route requires it. According to IATA travel documentation guidance, entry requirements can differ by nationality, so this can vary.
- Border office charges, which may change by checkpoint or administrative rules. World Bank border and trade facilitation research notes that crossing costs and procedures can vary by border post.
- Transport or incidental costs, like a local taxi, shuttle, or baggage help. These are not always part of the official fee, but they can still affect what you pay in cash.
Expected total: US$12, based on the article promise. The exact mix of exit fee, entry fee, or smaller official fee can vary by border office, and some travelers may pay less or a different amount depending on nationality.
Documents and Border Formalities
Passport control is usually the slowest part, so I wish someone had told me to have everything in hand before reaching the counter. According to the U.S. Department of State, you should verify your passport validity and entry requirements before any international crossing, and official immigration rules can vary by nationality and destination.
- Passport, ready before you join the line.
- Travel documents that match your trip details, if required for your nationality.
- Any visa or entry permit, if your route requires one.
- Return or onward travel details, if immigration asks to see them.
At the border, you usually approach the immigration counter, hand over your passport and travel documents, answer a few basic questions, and wait for the officer to check your details. If everything is fine, you get an entry stamp when you arrive and an exit stamp when you leave. The biggest delays tend to happen when people dig through bags at the counter, forget a required document, or give answers that do not match their papers.
What to Keep Ready Before Reaching the Counter
- Passport ready, with it easy to grab, not buried in your bag.
- Documents you may need for the border crossing, kept in one neat folder or sleeve.
- Your completed forms, if any, with pages flat and easy to hand over.
- A pen, since one always seems to vanish right at the immigration counter.
My first border crossing, because digging through a packed backpack while the line moved behind me felt awful. Keep everything accessible and organized, and the whole thing tends to feel faster and calmer.
Tips to Make the Crossing Faster and Easier
A little border crossing tips planning can save a lot of standing around. I still remember the shuffle of bags, the dry heat, and one traveler asking the guard the same question twice because he was rushed.
- Have your documents ready before you reach the counter. That means passport, visa, and any needed forms in one easy spot.
- Use the official counters only. According to U.S. Department of State safety guidance, staying aware of your surroundings matters, and official windows help keep things clear and safe.
- Say no to unofficial payments. If someone hints that a small cash payment will make things faster, skip it. Official border and anti-corruption guidance usually warns travelers to avoid side deals.
- Keep your answers short and clear. A calm, direct answer tends to move things along faster crossing the border. Long explanations usually slow the line behind you.
- Check the fee rules before you go. If there are any charges, know them first by reading the fee section. That helps you avoid confusion and makes an easy border crossing less stressful.
- Pack light near the top of your bag. Shoes, chargers, and papers should be easy to grab.
Even a faster crossing still depends on the line, the hour, and how busy the booth is. So keep your travel tips realistic, stay patient, and expect that easy does not always mean instant.
How to Avoid Delays and Unofficial Hassles
Official counters only. Stick to the posted desk, keep your papers ready, and expect a border delay if the queue is busy.
- Ignore unofficial fees. If someone asks for extra cash, pause and ask where to pay officially.
- Check signs and receipts. Real border safety comes from clear stamps, printed slips, and staff in uniform.
- Don’t rush. Stop and think before paying anything unclear.
- Keep your documents handy. Use the documents section so you are not digging through your bag at the window.
Truth is, most crossings feel ordinary, with tired travelers, humming fans, and a lot of waiting. Staying calm helps you spot scams and avoid confusion.
What to Expect After Leaving Immigration
After the immigration counter and your cleared entry, you usually walk straight into the border exit area, where signs, drivers, and other travelers start pointing you toward the next step. Pause there for a minute, because the noise picks up fast, and it’s easy to miss where the onward transport actually leaves.
- Look for the official taxi rank, shuttle stand, or the stop for your next bus. According to official tourism or transport authority guidance, options near border posts can be limited, so it helps to ask before you step out.
- Take a quick breath, check your bag, and reorient yourself before choosing a ride for the onward journey. A local driver or border staff member can usually point you to the right lane faster than guessing on your own.
The border zone can feel dusty, loud, and a bit chaotic, but once you know where the taxis or buses wait, the rest of the trip gets much easier.
Is This Border Crossing the Right Fit for You?
This overland border crossing is usually best for budget travel and simple route choice. If you want the easiest route with fewer moving parts, it can be a solid pick, especially for first-time overland crossers who like clear, direct travel planning.
Border conditions can shift by traveler type and time of day. Government travel advisories and official transport guidance both point to the same thing, lines and processing can feel very different in the morning than they do later on.
- Best for: travelers who want a low-cost crossing and don’t mind basic transport.
- Best for: first-time overland border crossing trips where the route is simple and direct.
- Maybe not ideal for: travelers who need highly structured transport certainty or tight timing.
- Maybe not ideal for: anyone who gets stressed by variable queues, local taxi handoffs, or changing border routines.
Truth is, this route works well if you like keeping things flexible. I remember the smell of diesel near the taxi stand and a driver waving people toward the next leg, which felt easy enough once I knew what was happening.
Conclusion
The border crossing from Honduras to El Salvador was simple enough for a cheap day trip, and the total cost I paid was US$12.
The key takeaway is that this route works best when you keep your documents ready, allow extra time, and follow the local immigration steps without rushing. According to official border and travel authorities, border rules and fees can change, so it’s smart to confirm current procedures before departure, especially if you want a smooth crossing.
Recap: a straightforward Honduras to El Salvador border crossing, a verified US$12 cost, and a practical route that’s cheap, easy, and worth planning around.
Frequently Asked Questions
How do I cross the border from Honduras to El Salvador?
Most travelers get off the bus or taxi, fill out exit and entry forms, and pass through immigration on foot. Keep your passport and any required papers ready, because the lines can move fast and then stall.
Where is the border crossing from Honduras to El Salvador?
The main crossing is at El Amatillo on the Honduras, El Salvador border. If you are heading by bus, drivers usually know the stop, and the checkpoint area is easy to spot.
How much does it cost to cross the border from Honduras to El Salvador?
Costs can vary, so check the cost section before you go. You may also need to budget for transport, photocopies, or small local charges.
What documents do I need to cross from Honduras to El Salvador?
Bring a valid passport and any visa or entry documents that apply to your nationality. For a full list, see the documents section.
Is it easy to cross from Honduras to El Salvador?
Usually, yes. It is a fairly straightforward crossing if your papers are in order, though busy times can mean waiting in the sun with a noisy crowd and a few impatient bus horns.
How long does it take to cross the border from Honduras to El Salvador?
It often takes about 30 minutes to 2 hours, depending on crowds and inspections. Bus passengers may wait longer if the driver is handling group paperwork.
Are there any official border fees at this crossing?
Official fees are not always charged, and rules can change. Ask at immigration before paying anyone, and keep a receipt if you do pay.
Can border fees or procedures change by nationality?
Yes, they can. Entry rules depend on your passport, so check official immigration guidance before travel and confirm details at the border.
What should I do after I clear immigration?
Head back to your bus, taxi, or onward ride and keep your passport handy. If you need a new connection, ask staff or other travelers right away, because the pickup area can get crowded fast.
Is this the best border crossing for budget travelers?
It is often a solid choice for budget travelers because buses use it regularly and the route is simple. For cheap trip planning and border timing, the tips section can help.
What happens if I am missing a document at the border?
You may be delayed or turned back until you get the right paper.
Can I use this crossing if I am traveling by bus or as a backpacker?
Yes, this crossing works well for both bus travelers and backpackers. Just keep small cash, your passport, and copies of key documents in an easy-to-reach pocket.